

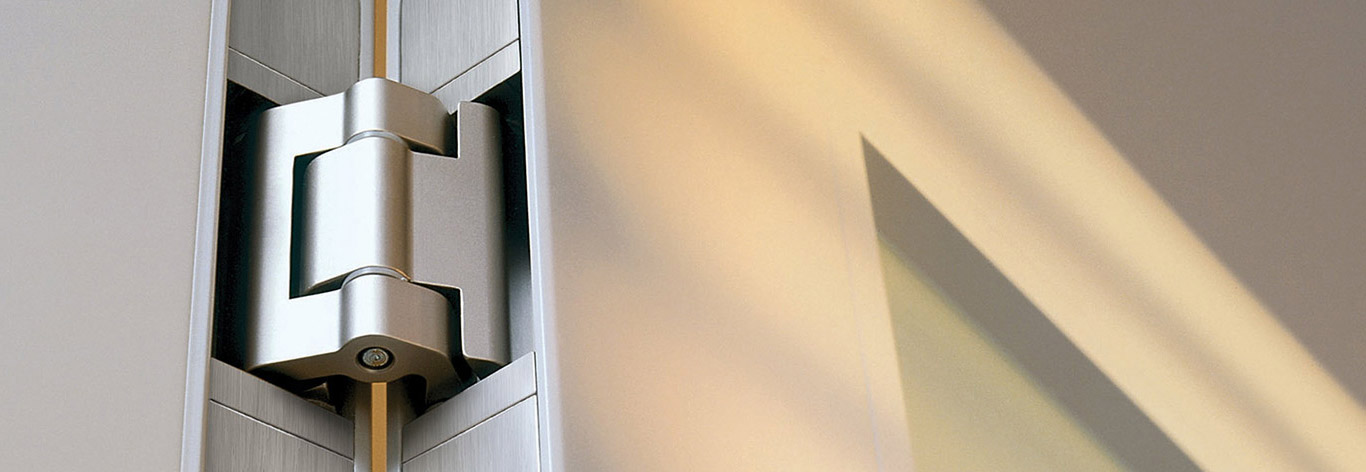
Discover How One Small Hardware Choice Can Make or Break Your Furniture’s Look, Function, and Lifespan
We’re a team of woodworkers obsessed with every detail, from grain selection to grinding those final edges. Over the years, we’ve realised that even the smallest hardware—yes, I’m talking about the best hinges—can make or break a build. In this guide, we’ll share insights that feel like friendly banter, not stiff instructions. You’ll get straightforward tips, cheeky anecdotes, and practical tricks to choose, fit and maintain hinges that elevate your furniture from “nice” to “jaw‑dropping.” Ready to turn everyday doors into silky ballet dancers? Let’s dive right in.
When Doors Speak: The Language of Smooth Motion
You might not hear your cabinet doors gossip, but trust me—they’ll tell you everything about your hinge choice. A good hinge narrates a tale of precision; a poor one whines about stress and rust. Listening closely helps you spot early warnings and act before drama unfolds.
- Creaks mean friction—add a drop of wax or oil.
- Sagging hints at overload—check weight ratings.
- Misalignment points to loose screws—tighten or adjust.
- Stickiness often comes from debris—clean out dust.
Understanding this “language” transforms maintenance into a quick chat rather than a full‑on crisis.
Material Matters: Finding Your Perfect Match
Not all metals play nicely with wood and the environment. Your choice of material decides how long hinges last and how they look over time. It’s like pairing wine with cheese—pick wrong, and the experience falls flat.
- Steel is rugged and affordable indoors, but it risks rust in damp areas.
- Brass resists corrosion nicely and ages to a warm patina.
- Stainless steel stands up to moisture, making it perfect for bathrooms.
- Powder‑coated finishes add a protective skin and hide fingerprints.
We recommend matching the material to your project’s location and style. That way, you get performance and flair in one go.
The Geometry of Alignment: Getting It Spot On
Precision here isn’t about laser levels and protractors, though you can use them. It’s more about simple steps and a steady hand. Aligning hinges properly means doors sit flush, glide quietly and look sharp.
- Template Time
Print or trace a paper template to mark exact positions.
- Mortise Mastery
Use a router guide or chisel for uniform depth—no wobble.
- Pilot Precision
Drill pilot holes to prevent splits and guide screws straight.
- Loose‑Fit First
Screw in loosely, test the swing, then tighten once all looks good.
Follow these steps, and you’ll avoid the dreaded twist or drag that screams “amateur hour.”
DIY vs Pro Tools: Balancing Skill and Gear
You don’t need a high‑end workshop to nail hinge fitting, but a few innovative tools speed things up and boost accuracy. It’s about knowing which gadgets are worth the drawer space.
- Hand chisel: versatile and budget‑friendly for mortises.
- Router with guide: uniform cuts in a flash—ideal if you do many repeats.
- Hinge jig: ensures perfect locations every time, even on tricky angles.
- Quality screwdrivers or bits: reduce cam‑outs and stripped heads.
Blend DIY spirit with just enough pro gear, and you’ll feel like a seasoned craftsman without breaking the bank.
Weatherproof Wonders: Hinges for Every Environment
Walls breathe and temperatures shift. That means your hinges face moisture, heat and occasional splashes of mid‑build tea. Choosing the right type keeps doors operating smoothly under all conditions.
- Marine‑grade stainless steel for outdoor benches or garden chests.
- Self‑closing spring hinges in kitchens prone to splashes.
- Concealed Euro hinges with built‑in seals against dust and drips.
- Silicone‑sealed pins that resist grime and water intrusion.
When you match hinge features to the environment, you’ll dodge rust spots and funk‑filled pivots for years.
Lifelong Love: Caring for Your Hinges
Installing your hinges is just step one. A little TLC keeps them humming quietly, saving you from midnight squeaks. Treat maintenance as a ritual, not a chore.
- Wipe down leaves and pins with a soft, dry cloth.
- Apply a drop of light machine oil or paste wax on moving parts.
- Cycle the door 10–20 times to work in lubricant.
- Check and tighten loose screws every 3–6 months.
This minimal care routine turns hinges into loyal sidekicks that never let you down.
Your Next Step Towards Flawless Builds
We’ve uncovered how hinge “dialect,” material choice, alignment geometry and simple maintenance come together to unlock silky‑smooth performance. Now it’s over to you: swap out those creaky bits, try a new material in a damp spot, or invest in a jig for rapid, repeatable results. We’re here to guide every twist and turn—reach out for more hands‑on tips, and let’s craft doors that whisper perfection every time you open them.